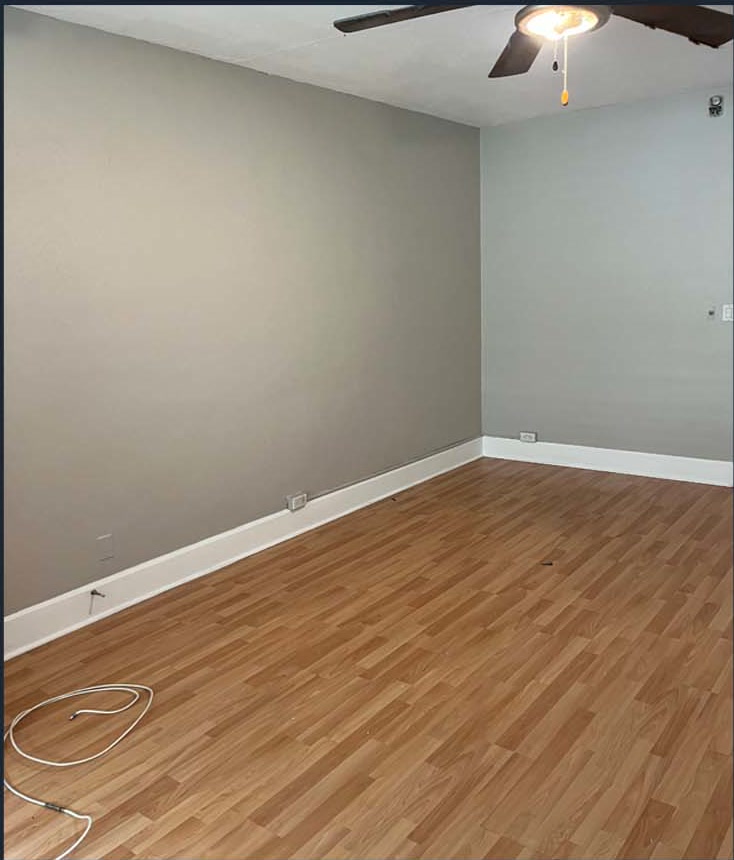
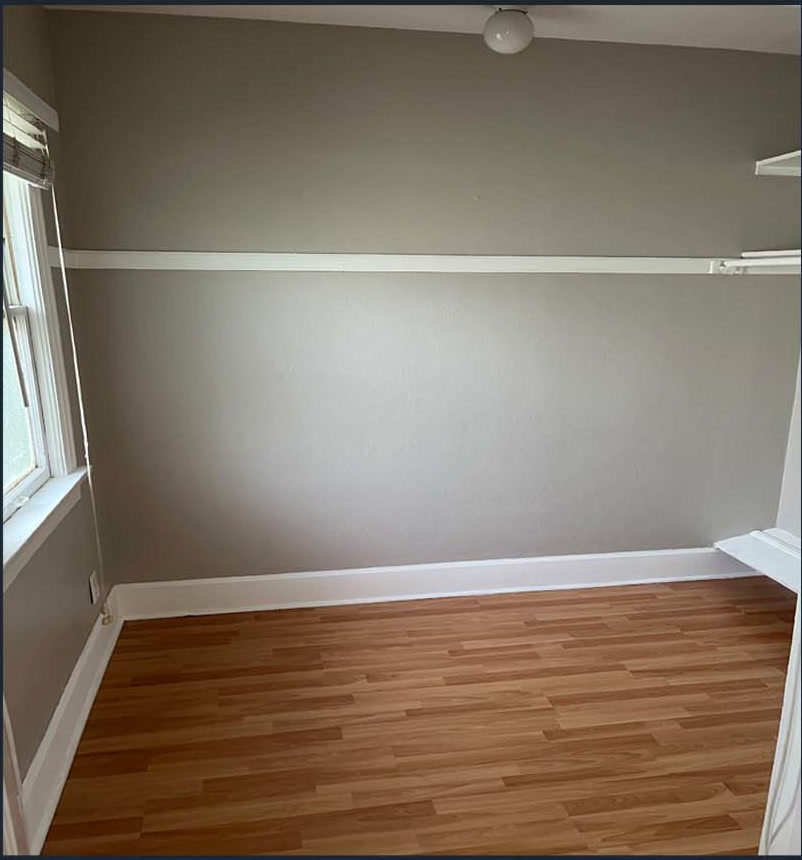
Interior improvements

Renovation and interior finishes

Bring the room together, one planned stage at a time.

What we plan your project around

  1. A clear room scope

    Agree on what stays, changes and needs repair.

  2. A sensible sequence

    Coordinate hidden work, preparation and visible finishes.

  3. A defined completion

    Set material, cleanup and handoff responsibilities.

From the first conversation

How the work takes shape.

Plan the work

  • Capture the existing condition

    • Take wide room photos and close-ups of damaged areas, transitions, moisture marks, outlets, and fixtures.
    • Note which rooms will remain occupied.
  • Set the sequence

    • Resolve leaks and hidden-system work before closing walls; complete dusty removal before finish surfaces; coordinate floor protection, paint, cabinets, and trim.
  • Close each scope boundary

    • Write down supplies, allowances, cleanup, temporary protection, inspections, and the finished condition for each room and trade handoff.
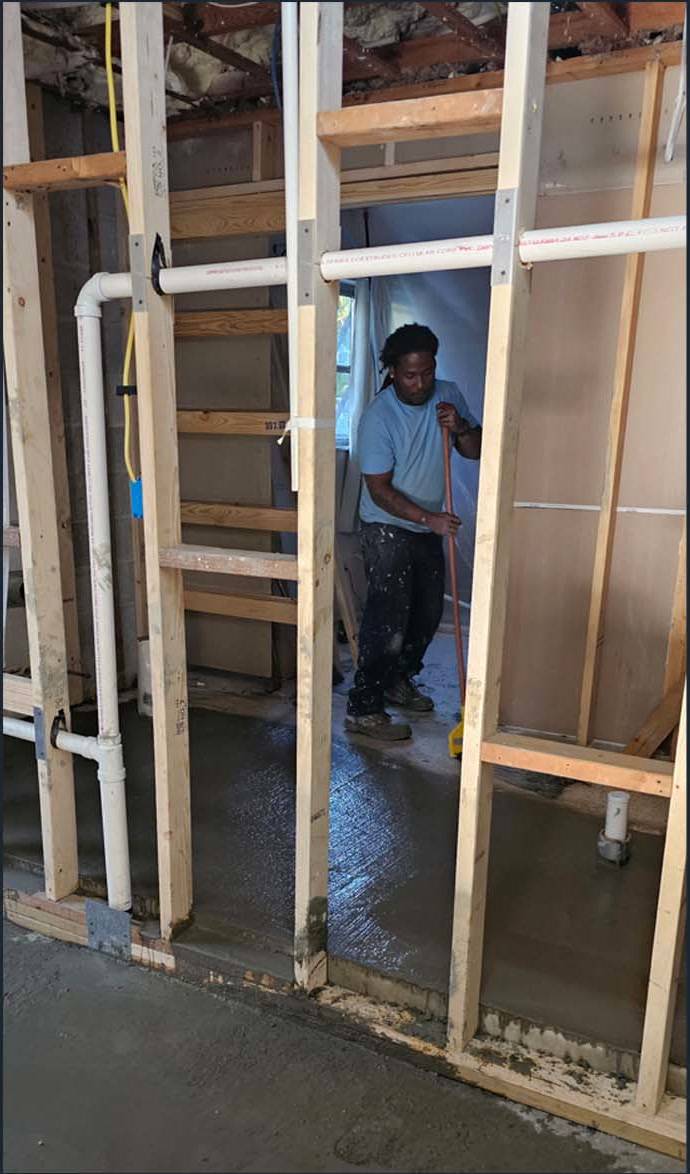
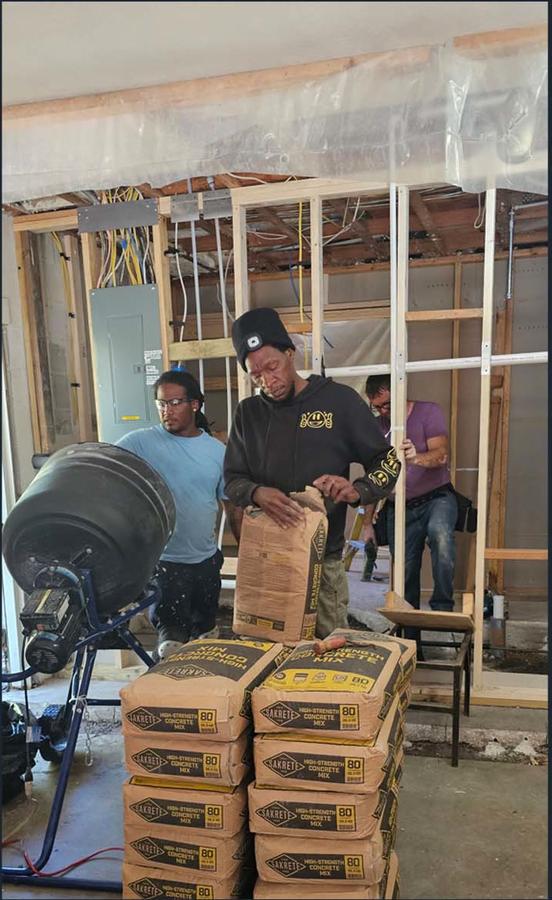
Bring the details together

Start your estimate conversation with these project details.

  • Room-by-room work list and what must remain

  • Dimensions, photos, and selected products

  • Building age and known moisture or repair history

See the full estimate checklist
List
Rooms and final surfaces
Sequence
Rough-in before close-in
Protect
Occupied areas and belongings
Assign
Materials and trade handoffs

How to scope it

Plan the room around its finished surfaces.

Separate the project by room and by stage. Identify demolition, substrate repairs, electrical/plumbing/HVAC work, drywall, flooring, paint, trim, and fixtures. Choose which finishes are already selected, who buys them, and what happens if the work uncovers a condition that was not visible before removal.

Older occupied buildings can trigger lead-safe requirements when painted surfaces are disturbed. Specialist work, inspections, and permits should be assigned before the schedule is promised.

Planning your renovation and interior finishes project

Renovation and finish work should start with the existing room and the result you want to achieve. Describe damaged areas, surfaces to retain and visible transitions to adjoining spaces. Photos of the whole room help put close-up details in context.

Defining the package

List drywall, paint, trim, flooring and other requested finishes separately. State which products have been chosen and where allowances or decisions are still needed.

Sequencing work

Discuss hidden repairs and trade work before closing surfaces. Include protection of retained finishes, movement of furniture and cleanup responsibilities in the written scope.

What affects the estimate?

The estimate should describe the work area, existing conditions and agreed finish. Two proposals can cover different preparation or completion tasks even when their headline descriptions sound similar. Ask which items are included, which are optional and which depend on a closer look at the property.

  • Capture the existing condition: Take wide room photos and close-ups of damaged areas, transitions, moisture marks, outlets, and fixtures. Note which rooms will remain occupied.
  • Set the sequence: Resolve leaks and hidden-system work before closing walls; complete dusty removal before finish surfaces; coordinate floor protection, paint, cabinets, and trim.
  • Close each scope boundary: Write down supplies, allowances, cleanup, temporary protection, inspections, and the finished condition for each room and trade handoff.
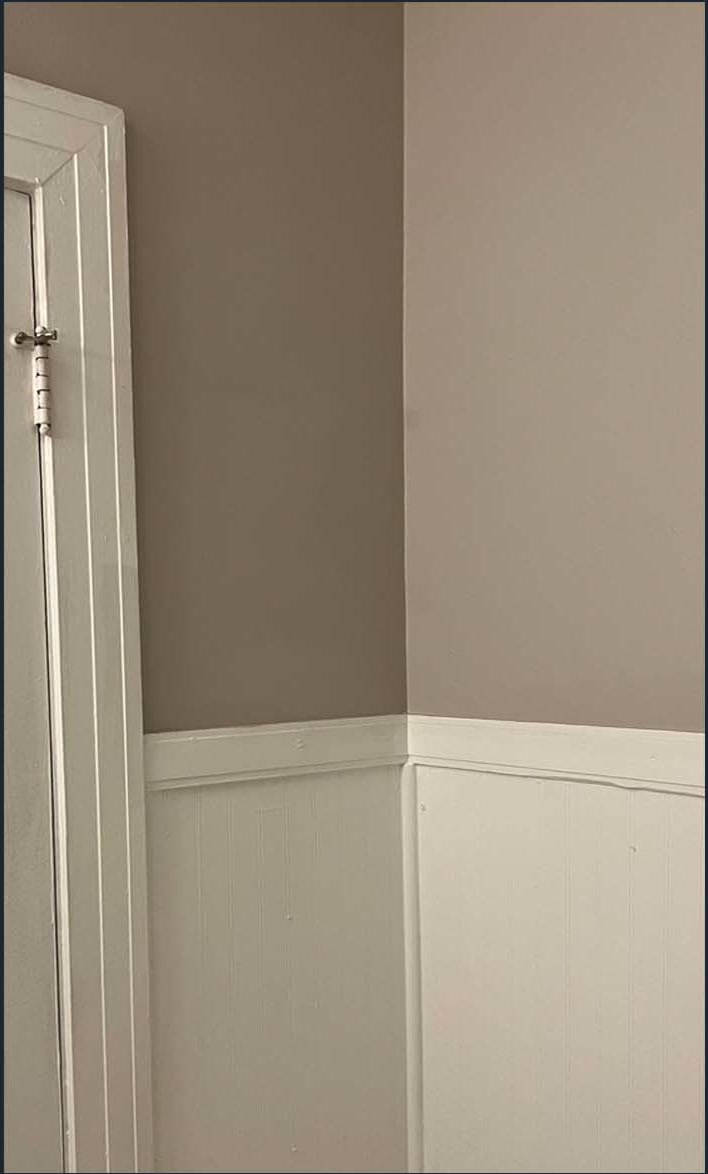
Information to send with your request

Send an overview of the space alongside close-up photographs. Include measurements where available, and label approximate dimensions as estimates. The following details help focus the conversation:

  • Room-by-room work list and what must remain.
  • Dimensions, photos, and selected products.
  • Building age and known moisture or repair history.
  • Occupied hours, shutoffs, access, and dust/noise limits.

Agree on the sequence before work starts

  1. Confirm the scope. Identify the exact areas involved, retained items, selected products and the intended finished condition. Record any unresolved questions before arranging the work.
  2. Coordinate access. Discuss delivery, parking, storage, occupied areas and any other work taking place at the property. Explain timing constraints early so they can be considered in the plan.
  3. Record changes. If the condition or requested work changes, ask how that affects the scope, price and timing before additional work proceeds.
  4. Define completion. Agree on cleanup, remaining materials, product information and the handoff to you or the next trade. Keep those details with the estimate for reference.

To discuss renovation and interior finishes with A&J Landscaping & Development Inc., use the estimate checklist and send a project inquiry. Include the property location and the work you want done so the next conversation can address your actual project.

Understand damage before selecting the finish

EPA emphasizes that moisture control is central to preventing recurring mold problems. Cleaning or covering an affected surface without addressing the water issue can leave the cause unresolved. In a renovation brief, record leaks, dampness and previous repairs separately from the desired cosmetic result. EPA: moisture and mold guidance for homes.

Share photographs and the timing of any recurring changes. Ask which assessment or repair should occur before new finishes are installed. If specialist work is needed, define its handoff to the renovation stage rather than assuming it is included in a paint or flooring allowance.

Create a room schedule rather than one broad description

For each room, list ceilings, walls, floors, trim, doors and fixed items. Mark them as retained, repaired, replaced or undecided. This turns a broad request to refresh the interior into a set of decisions that can be priced and reviewed.

Include the boundaries between rooms. A floor change can affect a threshold, and a wall repair can extend the area that needs repainting. Ask how these transitions are included so the proposal covers the places where new and existing work meet.

Separate allowances from selected products

An allowance represents a decision still to be finalized; a named product is more specific. Ask which materials in the estimate are selected and which remain provisional. Record what happens if the chosen product differs from the allowance or becomes unavailable.

Keep samples and product codes with the room schedule. Agree who purchases and checks deliveries, and where materials can be stored. Discuss how damaged or missing items will be handled before they interrupt the installation sequence.

Coordinate dusty work and retained finishes

Identify occupied areas and possessions that need to stay in place. Ask how work routes, temporary storage and daily access will be arranged. Tell the contractor about any room that cannot be taken out of use or furniture that cannot easily be moved.

Discuss which work happens before finished surfaces are installed and how completed areas will be protected while the project continues. Make cleanup expectations explicit for both the end of a working day and the final handoff.

Make the final review easy to follow

Use the room schedule as the basis for the walkthrough. Record remaining tasks in one place rather than sending separate messages about each detail. Identify whether an item belongs to the original scope, a change request or another trade.

Collect care instructions and product details for the new finishes. Ask which materials should be retained for later touch-ups or repairs. A labeled record of paint, flooring and trim selections is useful long after the renovation is complete.

Make the estimate useful

Make the room list before estimating.

Email about renovation and interior finishes
  1. 01Room-by-room work list and what must remain
  2. 02Dimensions, photos, and selected products
  3. 03Building age and known moisture or repair history
  4. 04Occupied hours, shutoffs, access, and dust/noise limits

Project imagery

Room and finish details
in view.

Look closely at the material, access, and finish involved in this kind of work.

Technical reading

Home-improvement planning

The difference is in the details

A rough idea. A defined renovation and interior finishes plan.

An incomplete brief

What still needs an answer

  • The work area, existing condition and access are unclear.
  • Materials and preparation are left out of the scope.
  • Completion details and responsibilities have not been agreed.

A defined project

What to put in the plan

  • A clear room scope. Agree on what stays, changes and needs repair.
  • A sensible sequence. Coordinate hidden work, preparation and visible finishes.
  • A defined completion. Set material, cleanup and handoff responsibilities.
  1. Training

    Read the course records

    • Rachee Johnson’s NCDOT course completions cover business insights and bidding, drones and construction surveying, and pipe installation and erosion control.
    View completion certificates →
  2. Scope

    Start with the actual conditions

    • Room-by-room work list and what must remain.
    • Dimensions, photos, and selected products.
    See the estimate checklist →

Define your project

Renovation and interior finishes: scopes to discuss

  1. Room updates
  2. Finish replacement
  3. Trim and paint
  4. Property turnover

Before work begins

Three details to agree for renovation and interior finishes

  1. Capture the existing condition

    • Take wide room photos and close-ups of damaged areas, transitions, moisture marks, outlets, and fixtures. Note which rooms will remain occupied.
  2. Set the sequence

    • Resolve leaks and hidden-system work before closing walls; complete dusty removal before finish surfaces; coordinate floor protection, paint, cabinets, and trim.
  3. Close each scope boundary

    • Write down supplies, allowances, cleanup, temporary protection, inspections, and the finished condition for each room and trade handoff.
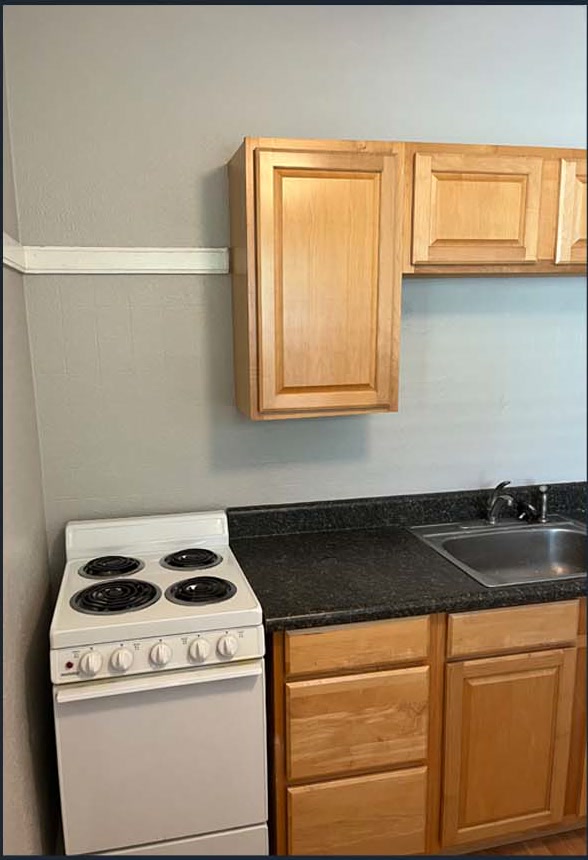
Ready to discuss renovation and interior finishes?

Contact A&J Landscaping & Development Inc. with your project details.

  • Share the property location, photos and measurements so the conversation starts with the actual space.
  • Describe your priorities, preferred materials and access restrictions, including any areas that need to remain in use.
  • Ask which preparation, supplies, cleanup and trade responsibilities belong in the estimate before agreeing to the work.
Request an estimate Browse all services →

Trade-specific questions

Frequently asked questions

Why do renovation estimates differ so much?

They may include different demolition limits, repair allowances, materials, protection, trade work, disposal, and finish levels. Compare a single written room-by-room scope.

When do product selections need to be final?

Before the work they affect is installed. Tile dimensions, fixtures, cabinets, doors, and flooring can change rough-in locations and finished heights.

What should a finish schedule include?

List rooms, surfaces, selected products, colors, trim details and who supplies each material.

How do we reduce rework between trades?

Plan demolition, rough work, repairs and final finishes in sequence. Identify who approves each stage before surfaces are covered.

What happens if a chosen product is unavailable?

Agree on how substitutions are proposed, priced and approved before an alternate material is installed.