Interior improvements

Painting and drywalls

Set the groundwork for a consistent wall finish.

What we plan your project around

  1. A sound starting point

    Identify damage and moisture before surface repairs.

  2. A matched finish

    Agree on texture, paint and the extent of the repair.

  3. A planned room handoff

    Include protection, drying time and access in the scope.

From the first conversation

How the work takes shape.

Plan the work

  • Find the source first

    • Mark each damaged area and note whether it is soft, damp, stained, cracked, or simply scuffed.
    • Photograph the full wall as well as the close-up.
  • Define the repair finish

    • Say whether the expected result is smooth, orange-peel, knockdown, or another texture.
    • Agree how far repairs extend and which adjoining walls will be painted.
  • Plan containment and dry time

    • Confirm room use, furniture movement, ventilation, coats, access, and when the surface can be touched or the room used again.
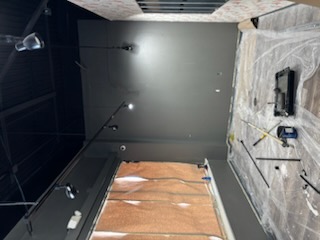
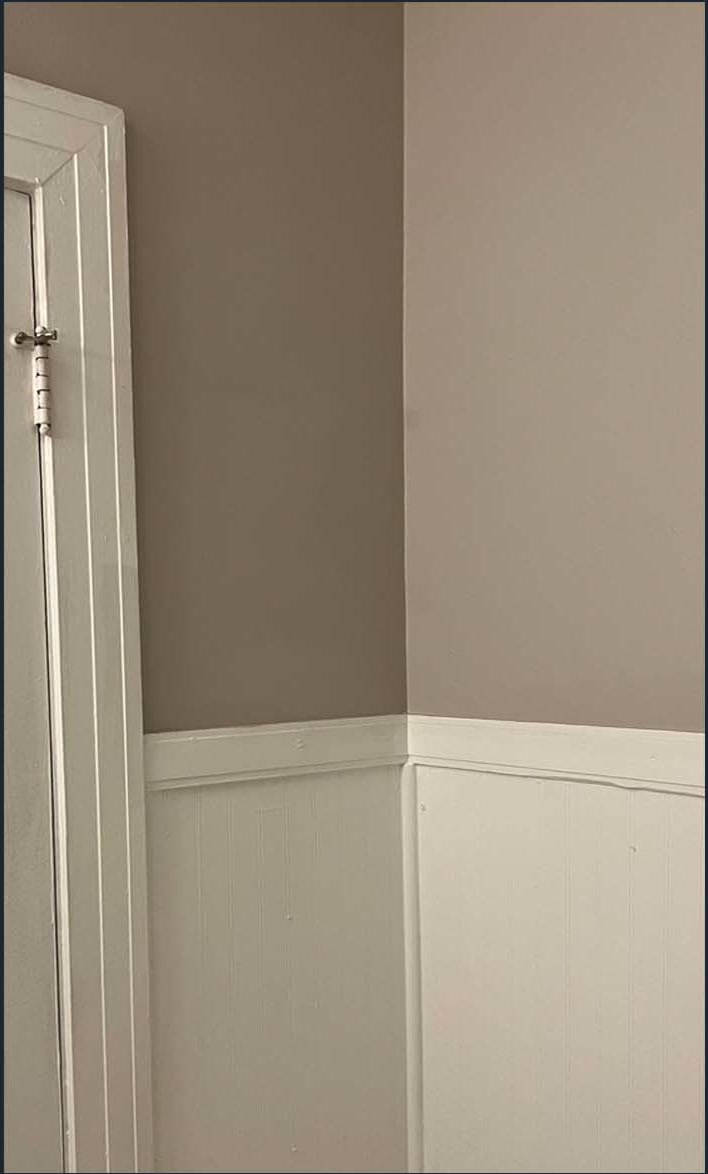
Bring the details together

Start your estimate conversation with these project details.

  • Approximate age of the building, if known

  • A wide photo and close photo of each damaged area

  • Any history of leaks, condensation, or earlier repairs

See the full estimate checklist
Separate
Repair from repainting
Inspect
Cracks, stains, texture
Choose
Paint, sheen, and color
Protect
Floors, furniture, occupied areas

How to scope it

Plan the room around its finished surfaces.

Describe whether the request is a new finish, touch-up, patch, texture match, or full-wall repair. A small patch can remain visible under side lighting if the texture, primer, or paint sheen differs. A leak or damp surface must be addressed before repainting.

For paid work that disturbs paint in pre-1978 housing or child-occupied facilities, EPA’s RRP requirements may apply. Confirm who is qualified for that regulated scope before work begins.

Planning your painting and drywalls project

Painting and drywall work should define both the repair area and the final visible finish. Point out cracks, stains, damaged edges and differences in texture. Identify whether you want a local repair, a full wall repainted or an entire room refreshed.

Matching expectations

Share paint labels or color selections where available. Discuss texture and sheen, along with how far the finish will extend at corners, ceilings and adjacent walls.

Preparation and access

Clarify furniture protection, removal of wall-mounted items and access between coats. Existing moisture or other unresolved damage should be identified before agreeing on the cosmetic work.

What affects the estimate?

The estimate should describe the work area, existing conditions and agreed finish. Two proposals can cover different preparation or completion tasks even when their headline descriptions sound similar. Ask which items are included, which are optional and which depend on a closer look at the property.

  • Find the source first: Mark each damaged area and note whether it is soft, damp, stained, cracked, or simply scuffed. Photograph the full wall as well as the close-up.
  • Define the repair finish: Say whether the expected result is smooth, orange-peel, knockdown, or another texture. Agree how far repairs extend and which adjoining walls will be painted.
  • Plan containment and dry time: Confirm room use, furniture movement, ventilation, coats, access, and when the surface can be touched or the room used again.
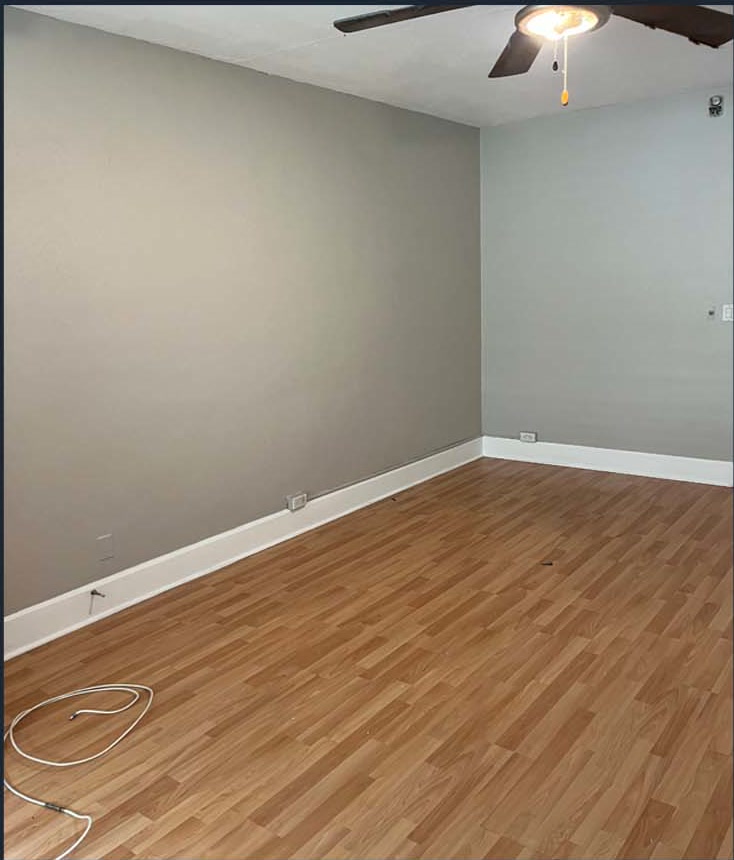
Information to send with your request

Send an overview of the space alongside close-up photographs. Include measurements where available, and label approximate dimensions as estimates. The following details help focus the conversation:

  • Approximate age of the building, if known.
  • A wide photo and close photo of each damaged area.
  • Any history of leaks, condensation, or earlier repairs.
  • Selected color/sheens or request to match an existing finish.

Agree on the sequence before work starts

  1. Confirm the scope. Identify the exact areas involved, retained items, selected products and the intended finished condition. Record any unresolved questions before arranging the work.
  2. Coordinate access. Discuss delivery, parking, storage, occupied areas and any other work taking place at the property. Explain timing constraints early so they can be considered in the plan.
  3. Record changes. If the condition or requested work changes, ask how that affects the scope, price and timing before additional work proceeds.
  4. Define completion. Agree on cleanup, remaining materials, product information and the handoff to you or the next trade. Keep those details with the estimate for reference.

To discuss painting and drywalls with A&J Landscaping & Development Inc., use the estimate checklist and send a project inquiry. Include the property location and the work you want done so the next conversation can address your actual project.

The building's age can affect preparation

EPA's lead-safe renovation guidance addresses work in pre-1978 housing and child-occupied facilities. If that description may apply, identify the building's age and ask how the project will be assessed before painted surfaces are disturbed. Appropriate preparation must be determined for the actual property and scope. EPA: planning lead-safe renovation and painting.

Share any existing testing or renovation records. Do not interpret a general painting estimate as confirmation that specialist assessment or lead-related work is included. Ask the responsible contractor to state the applicable approach and qualifications for the work being proposed.

Separate the wall repair from the paint boundary

A damaged area may be small while the visible finish boundary is much larger. Identify the repair itself, the texture to be matched and the extent of repainting. Ask whether the proposal ends at the patch, the whole wall or the entire room.

Photograph the surface in normal room lighting and include adjoining corners and trim. Discuss what an acceptable match means for the existing finish. If an exact paint product is unknown, allow that uncertainty to be addressed before a final color or sheen decision.

Record every surface included in the price

List walls, ceilings, doors, frames, baseboards and other trim separately. Identify closets, alcoves and areas behind fixed objects. A room name alone may not make clear whether every surface is part of the request.

For repainting, record the chosen product, color and sheen along with who supplies it. Ask how additional preparation or a change of color after approval will be handled. Keep the final selection list available to avoid differences between what was discussed and what is purchased.

Plan protection and access between stages

Discuss furniture movement, wall-mounted items, window coverings and the route used to carry materials. Identify areas that need to remain accessible. Clarify who removes and reinstalls items such as shelving or hardware where they affect the work.

Ask how the selected products and repair stages influence the schedule. Drying, recoating and room occupancy should be discussed for the actual materials. Include ventilation and the handling of occupied rooms in that conversation rather than assuming all surfaces can be completed at once.

Keep useful touch-up information

At completion, retain the paint labels or a written record of product, color and sheen. Identify which rooms and surfaces each product belongs to. Ask how leftover material should be stored or disposed of according to its instructions.

Review the agreed surfaces and repair boundaries during the walkthrough. Record remaining items clearly and ask how to report a concern after the finish has settled into normal room use. Avoid changing the surface with a different product before the issue has been discussed.

Make the estimate useful

Make the room list before estimating.

Email about painting and drywalls
  1. 01Approximate age of the building, if known
  2. 02A wide photo and close photo of each damaged area
  3. 03Any history of leaks, condensation, or earlier repairs
  4. 04Selected color/sheens or request to match an existing finish

Project imagery

Room and finish details
in view.

Look closely at the material, access, and finish involved in this kind of work.

The difference is in the details

A rough idea. A defined painting and drywalls plan.

An incomplete brief

What still needs an answer

  • The work area, existing condition and access are unclear.
  • Materials and preparation are left out of the scope.
  • Completion details and responsibilities have not been agreed.

A defined project

What to put in the plan

  • A sound starting point. Identify damage and moisture before surface repairs.
  • A matched finish. Agree on texture, paint and the extent of the repair.
  • A planned room handoff. Include protection, drying time and access in the scope.
  1. Training

    Read the course records

    • Rachee Johnson’s NCDOT course completions cover business insights and bidding, drones and construction surveying, and pipe installation and erosion control.
    View completion certificates →
  2. Scope

    Start with the actual conditions

    • Approximate age of the building, if known.
    • A wide photo and close photo of each damaged area.
    See the estimate checklist →

Define your project

Painting and drywalls: scopes to discuss

  1. Wall repairs
  2. Ceiling repairs
  3. Room repainting
  4. Texture matching

Before work begins

Three details to agree for painting and drywalls

  1. Find the source first

    • Mark each damaged area and note whether it is soft, damp, stained, cracked, or simply scuffed. Photograph the full wall as well as the close-up.
  2. Define the repair finish

    • Say whether the expected result is smooth, orange-peel, knockdown, or another texture. Agree how far repairs extend and which adjoining walls will be painted.
  3. Plan containment and dry time

    • Confirm room use, furniture movement, ventilation, coats, access, and when the surface can be touched or the room used again.
Ready to discuss painting and drywalls?

Contact A&J Landscaping & Development Inc. with your project details.

  • Share the property location, photos and measurements so the conversation starts with the actual space.
  • Describe your priorities, preferred materials and access restrictions, including any areas that need to remain in use.
  • Ask which preparation, supplies, cleanup and trade responsibilities belong in the estimate before agreeing to the work.
Request an estimate Browse all services →

Trade-specific questions

Frequently asked questions

Will a patch disappear completely?

That depends on the wall texture, light direction, paint age and sheen, and whether the finish can be blended to a natural break. Agree on the repair boundary before painting.

Can you paint over a water stain?

The moisture source has to be resolved and the substrate allowed to dry first. A stain-blocking primer may be appropriate after the surface condition is understood.

What does drywall preparation include?

Confirm repairs, taping, sanding, priming, texture work and protection of nearby surfaces in the estimate.

How do I choose a paint finish?

Consider room use, cleaning, lighting and the condition of the wall. Ask to see samples in the actual space when possible.

Will furniture and floors be protected?

Agree on moving items, masking, floor protection, ventilation and cleanup before painting starts.